

 English
 中文简体
 русский
 Español


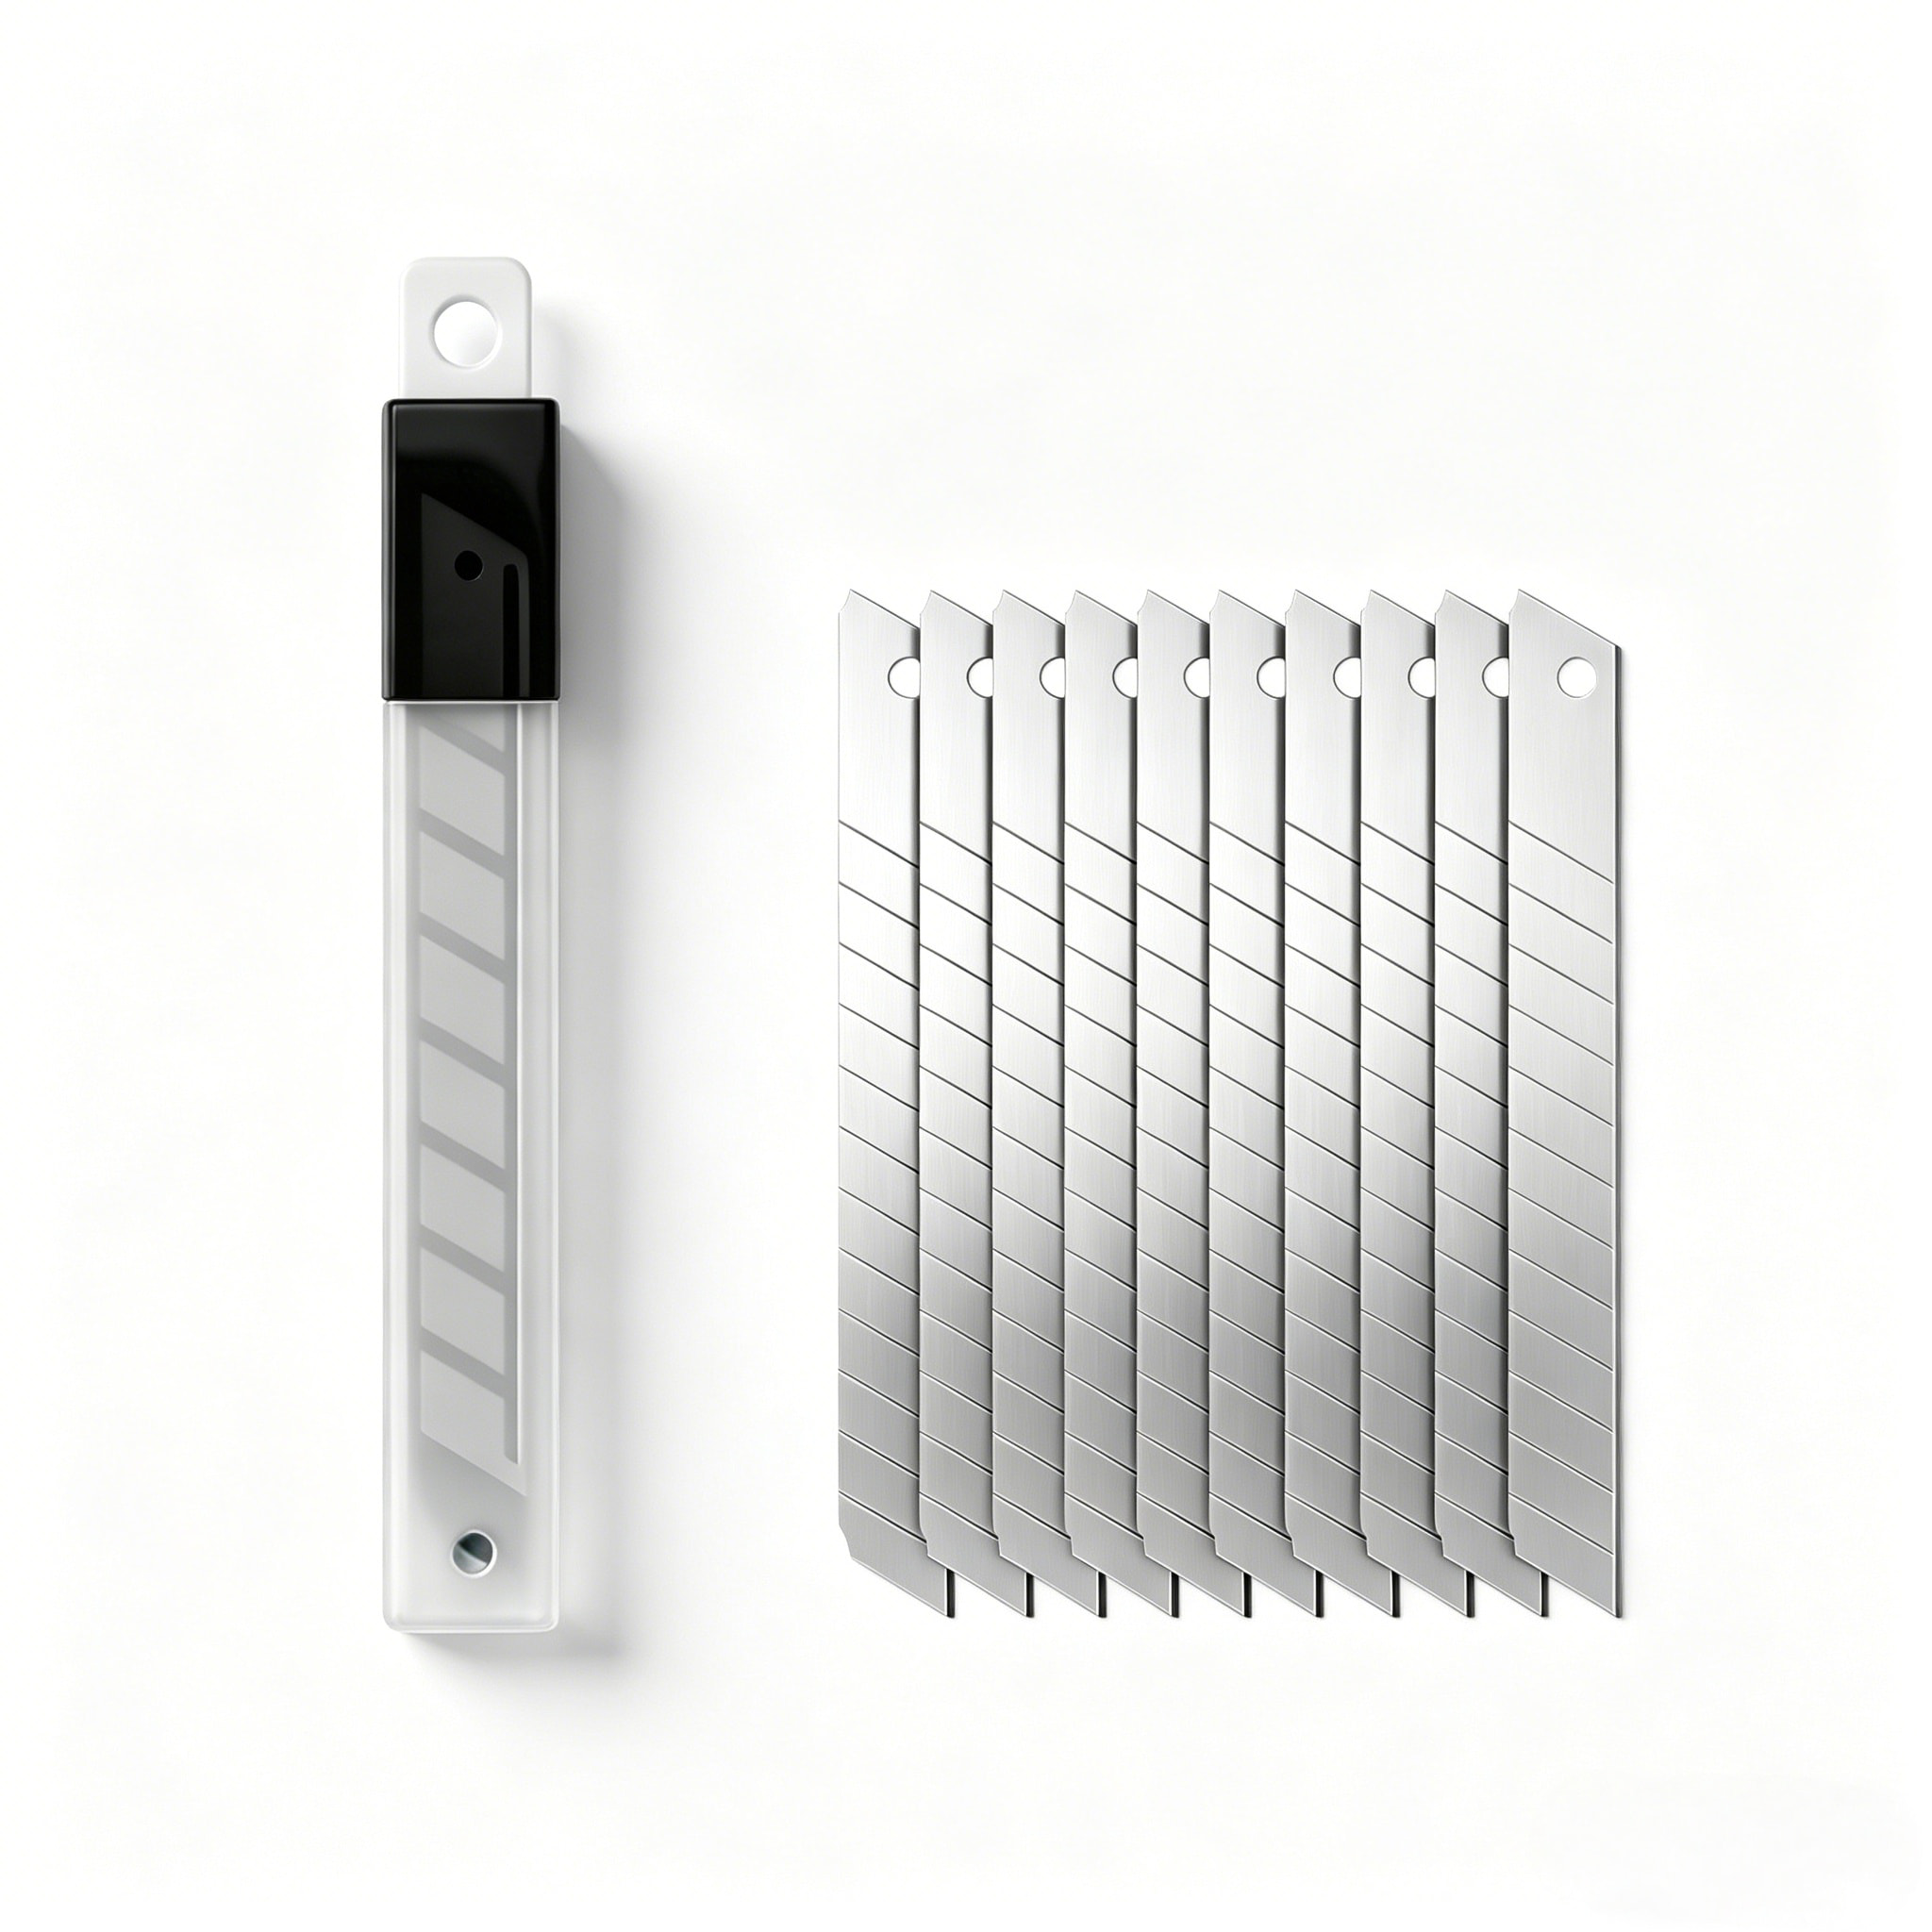
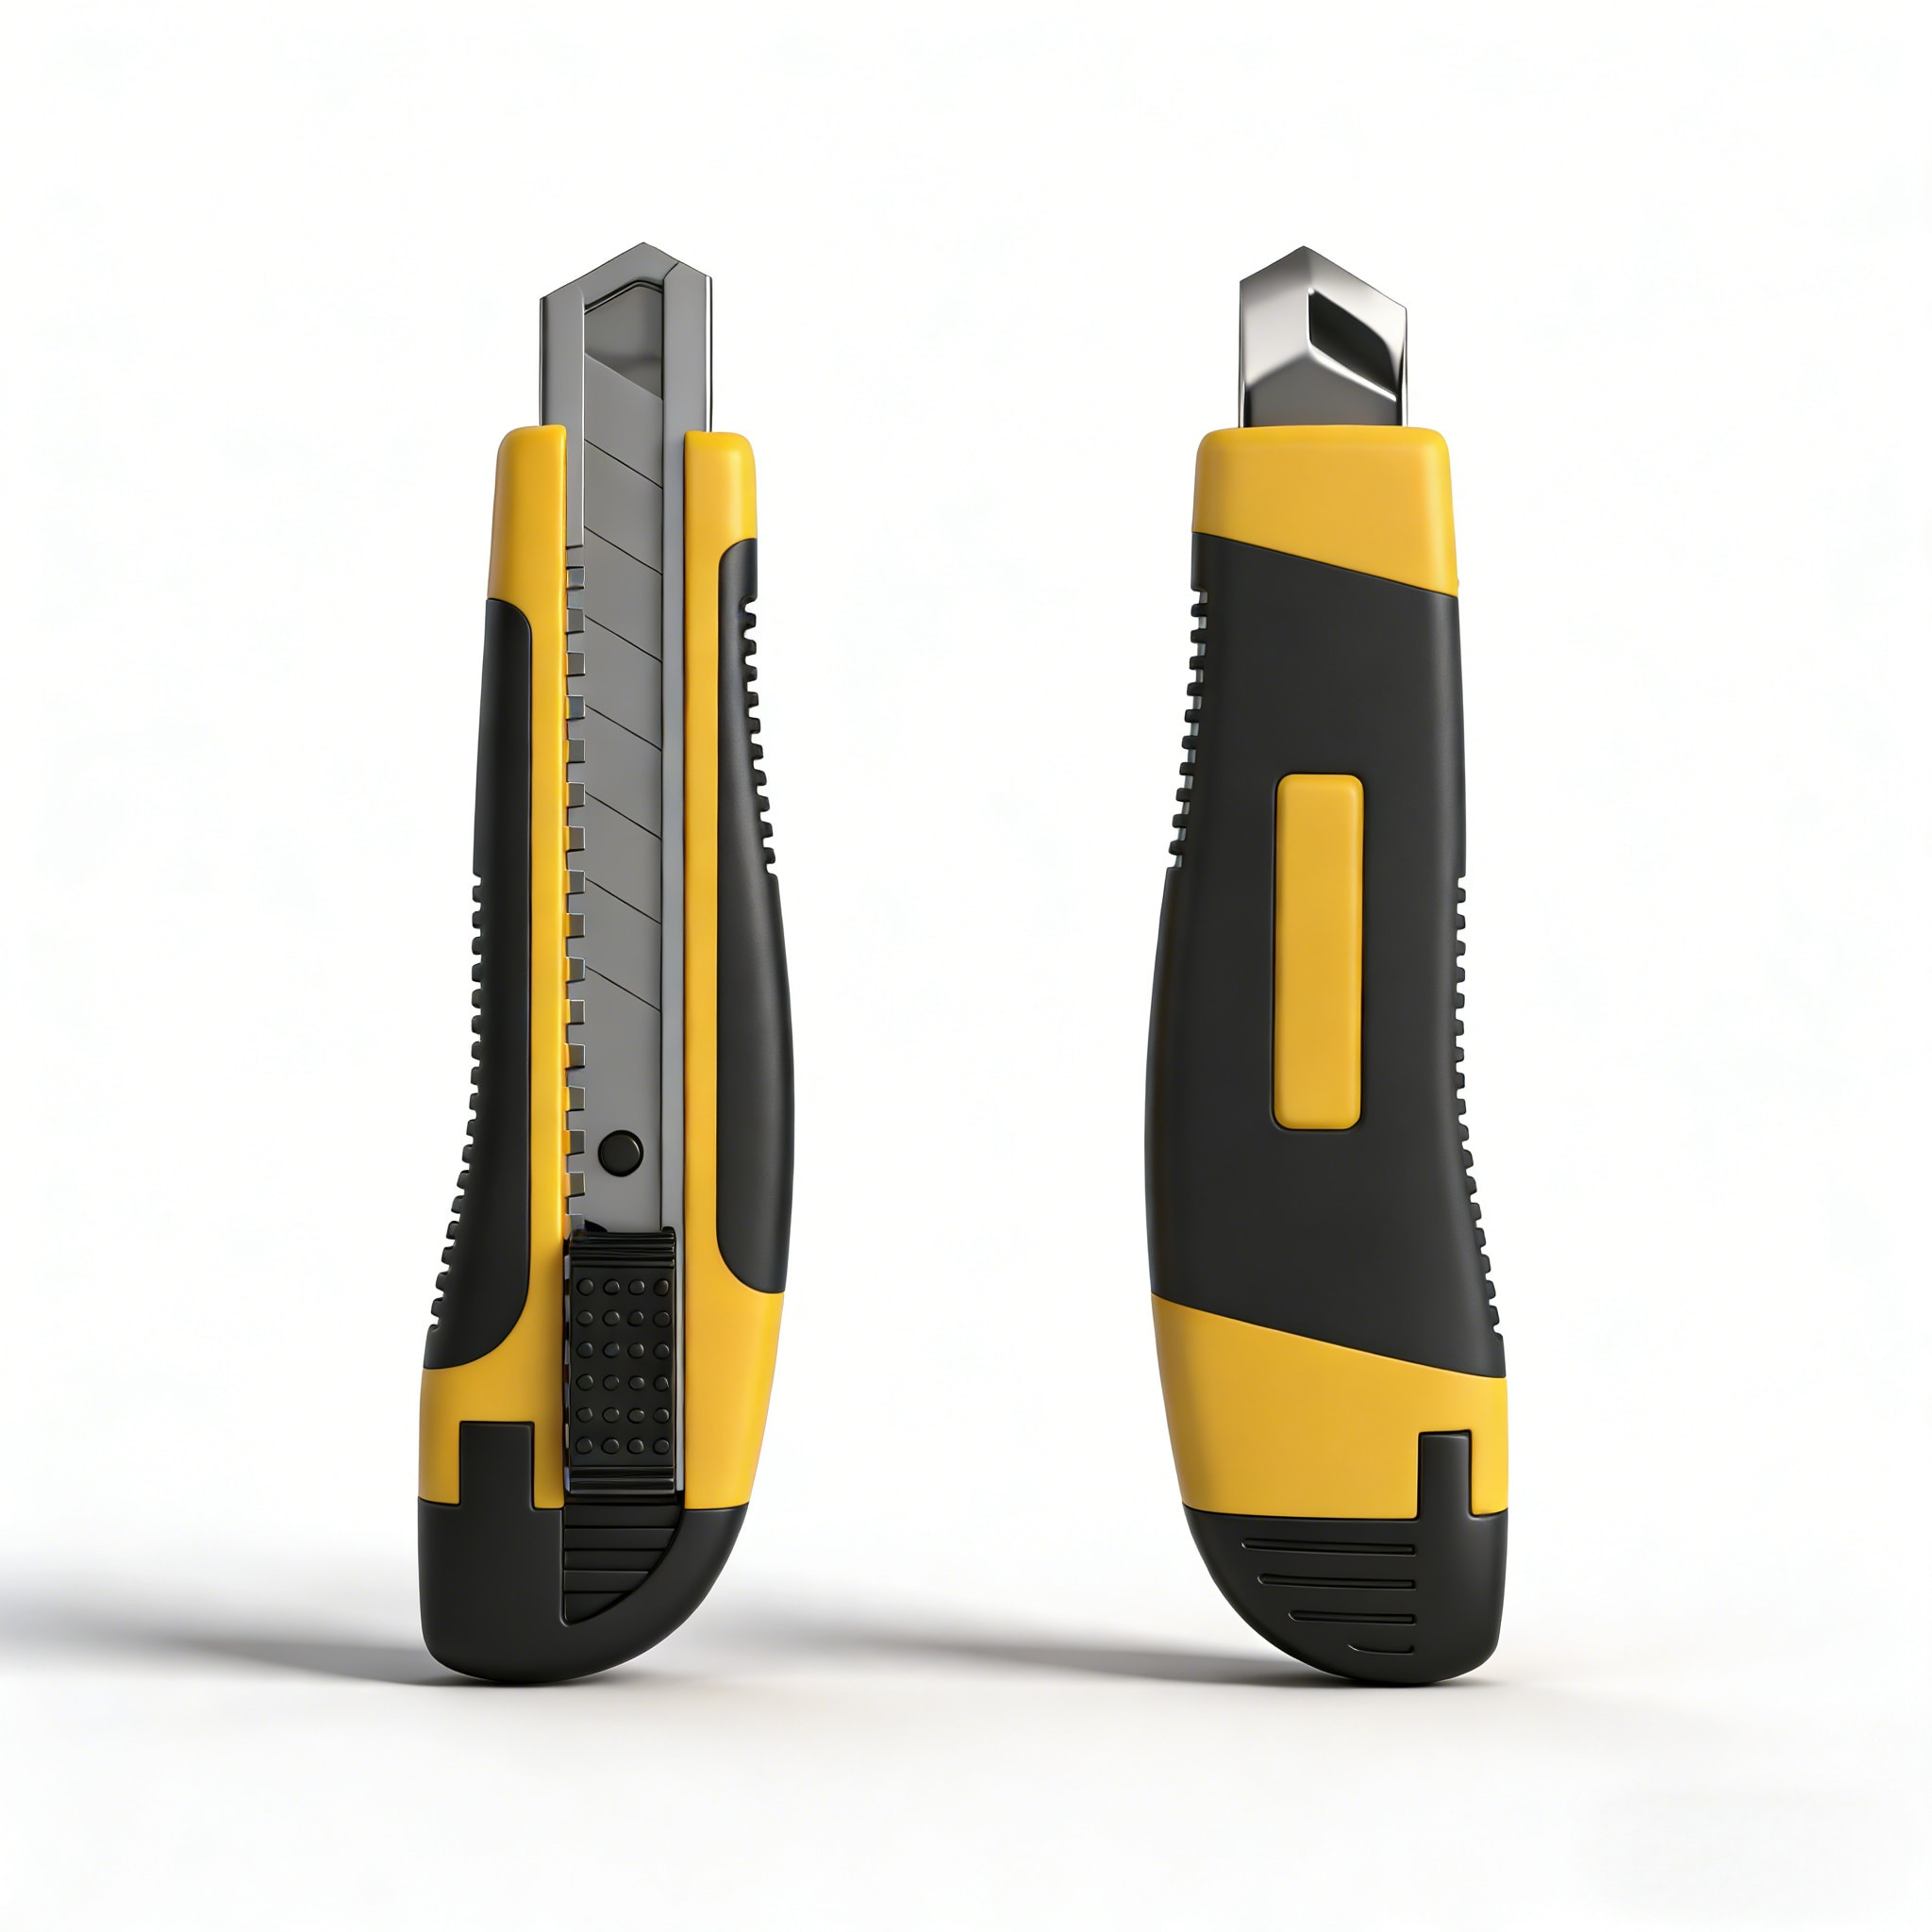
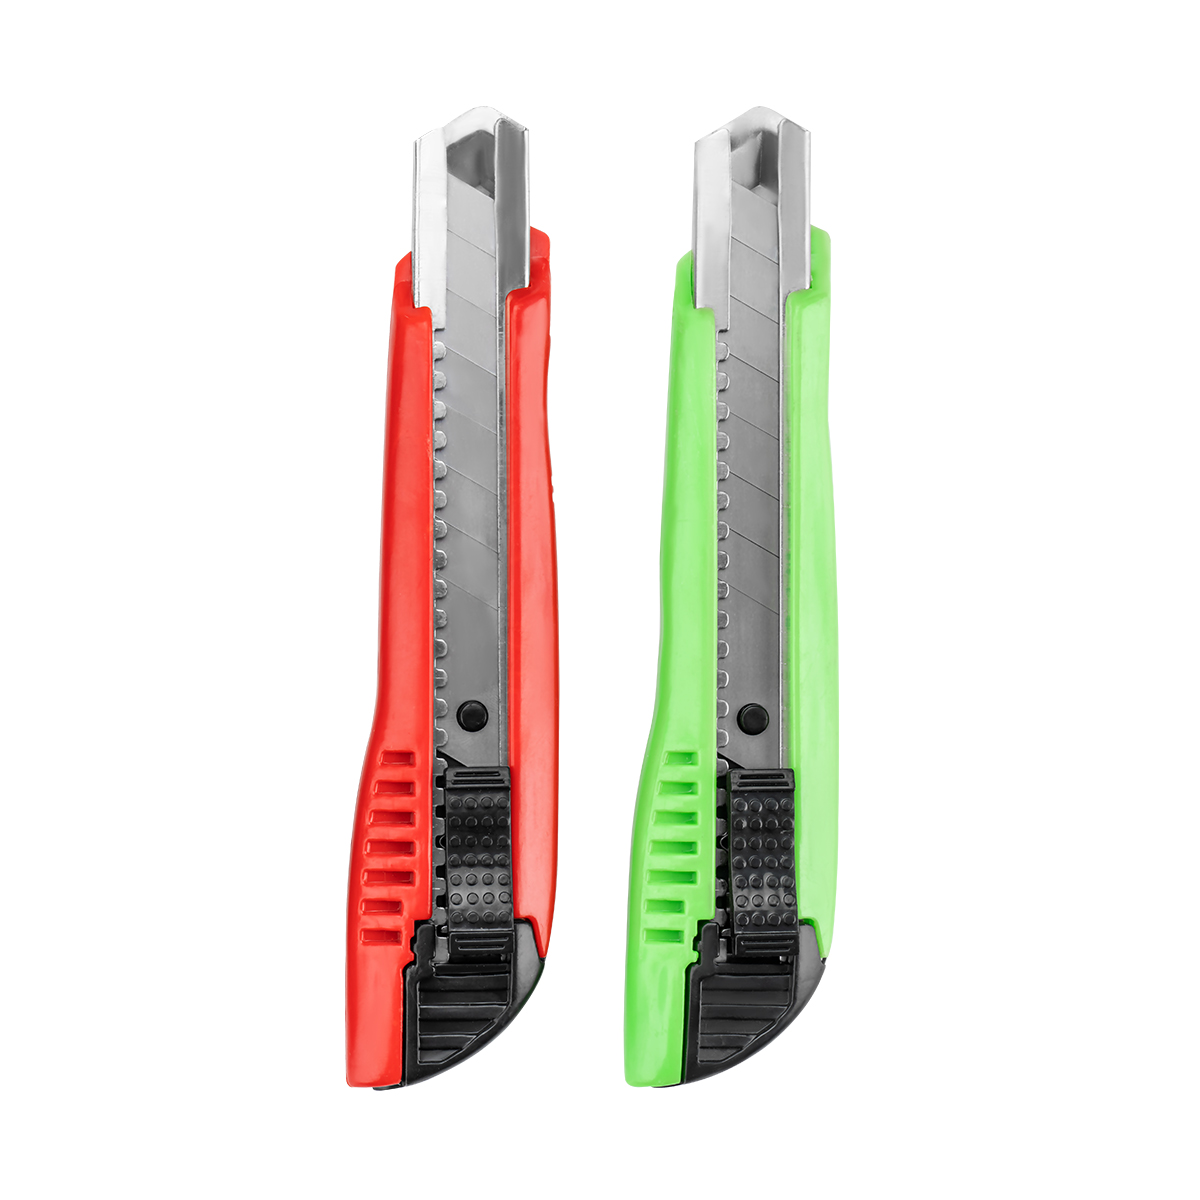
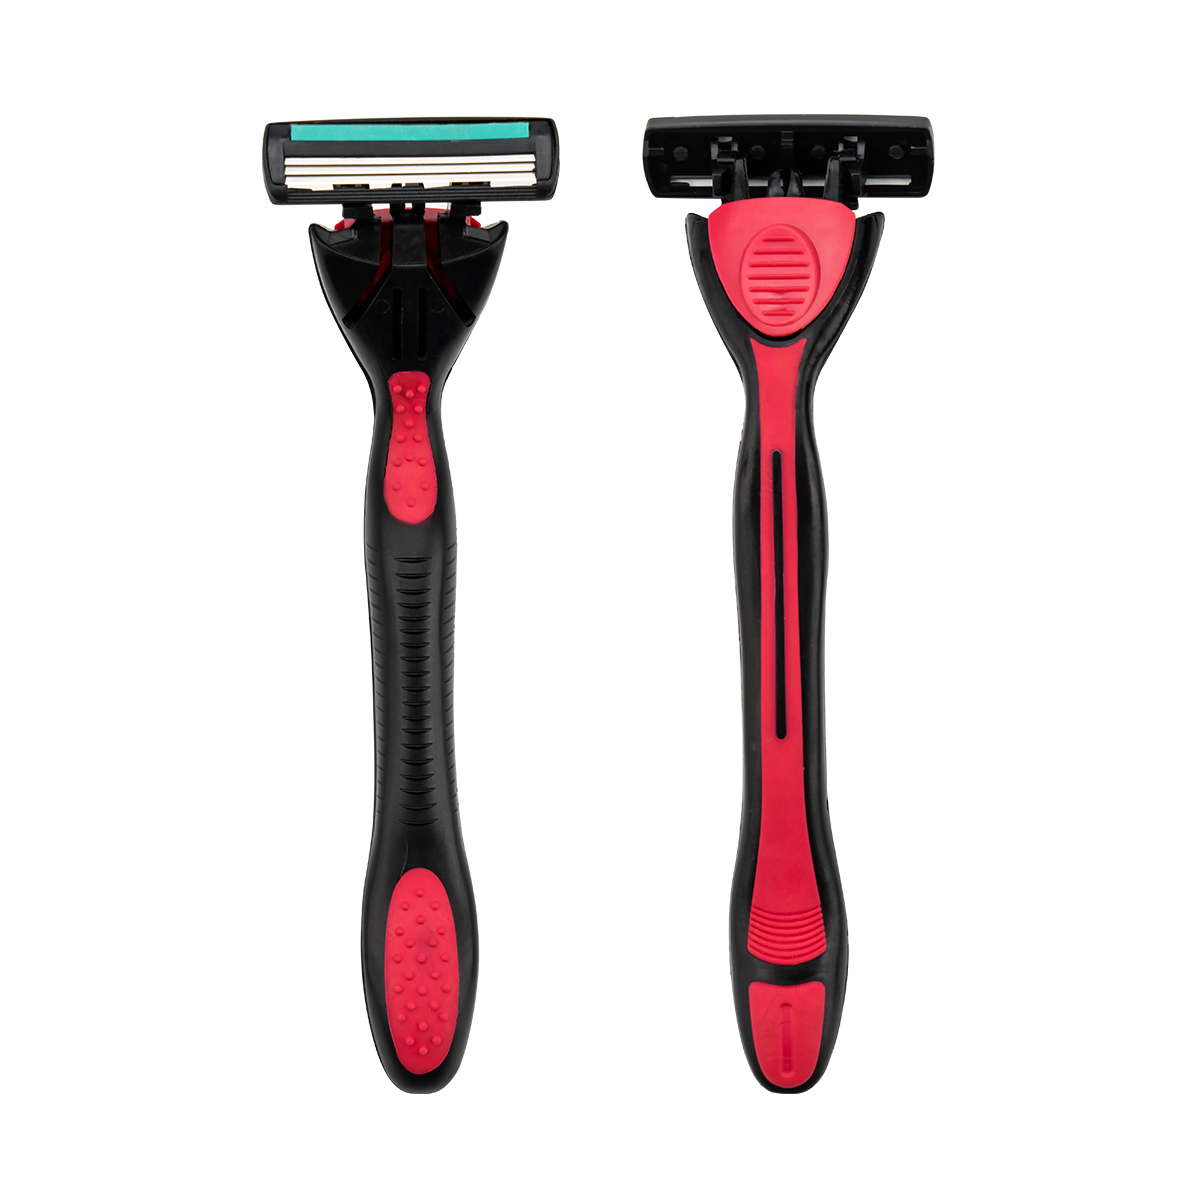

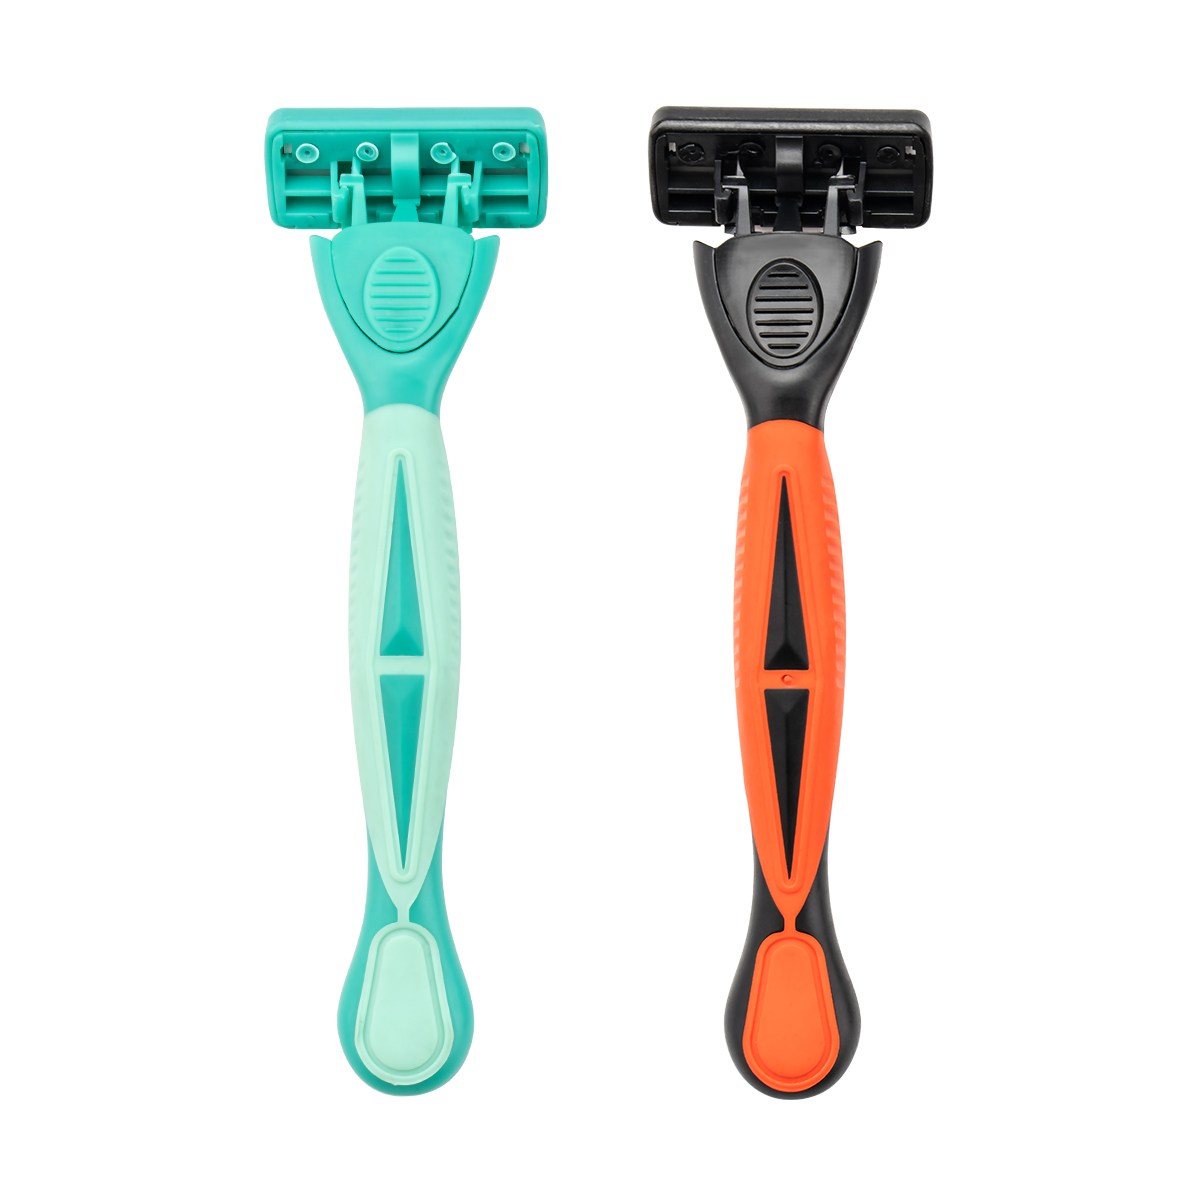
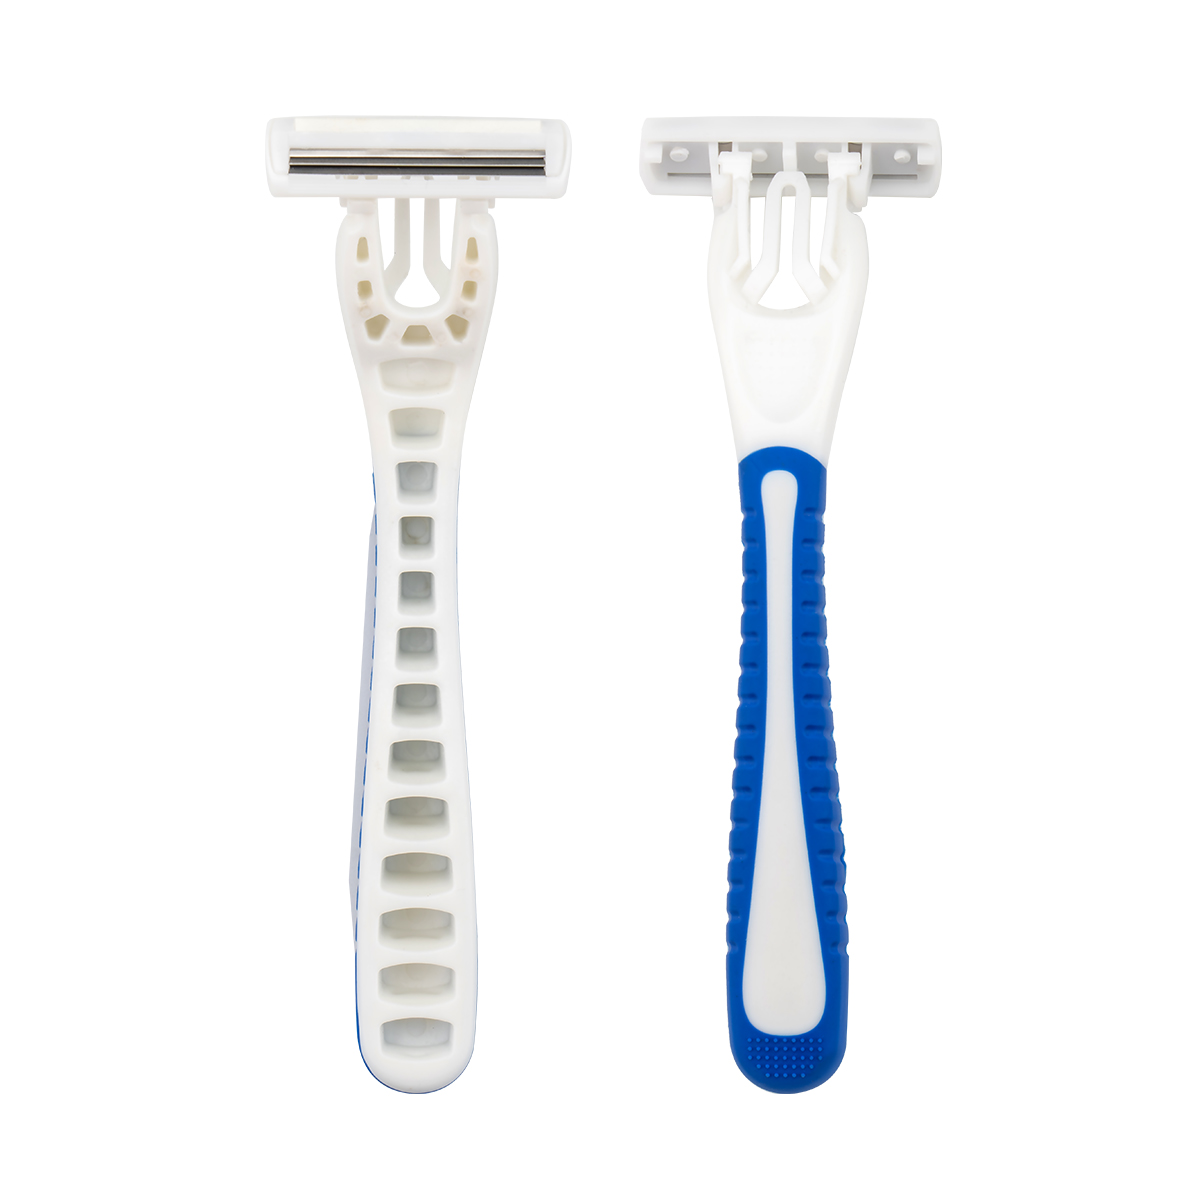
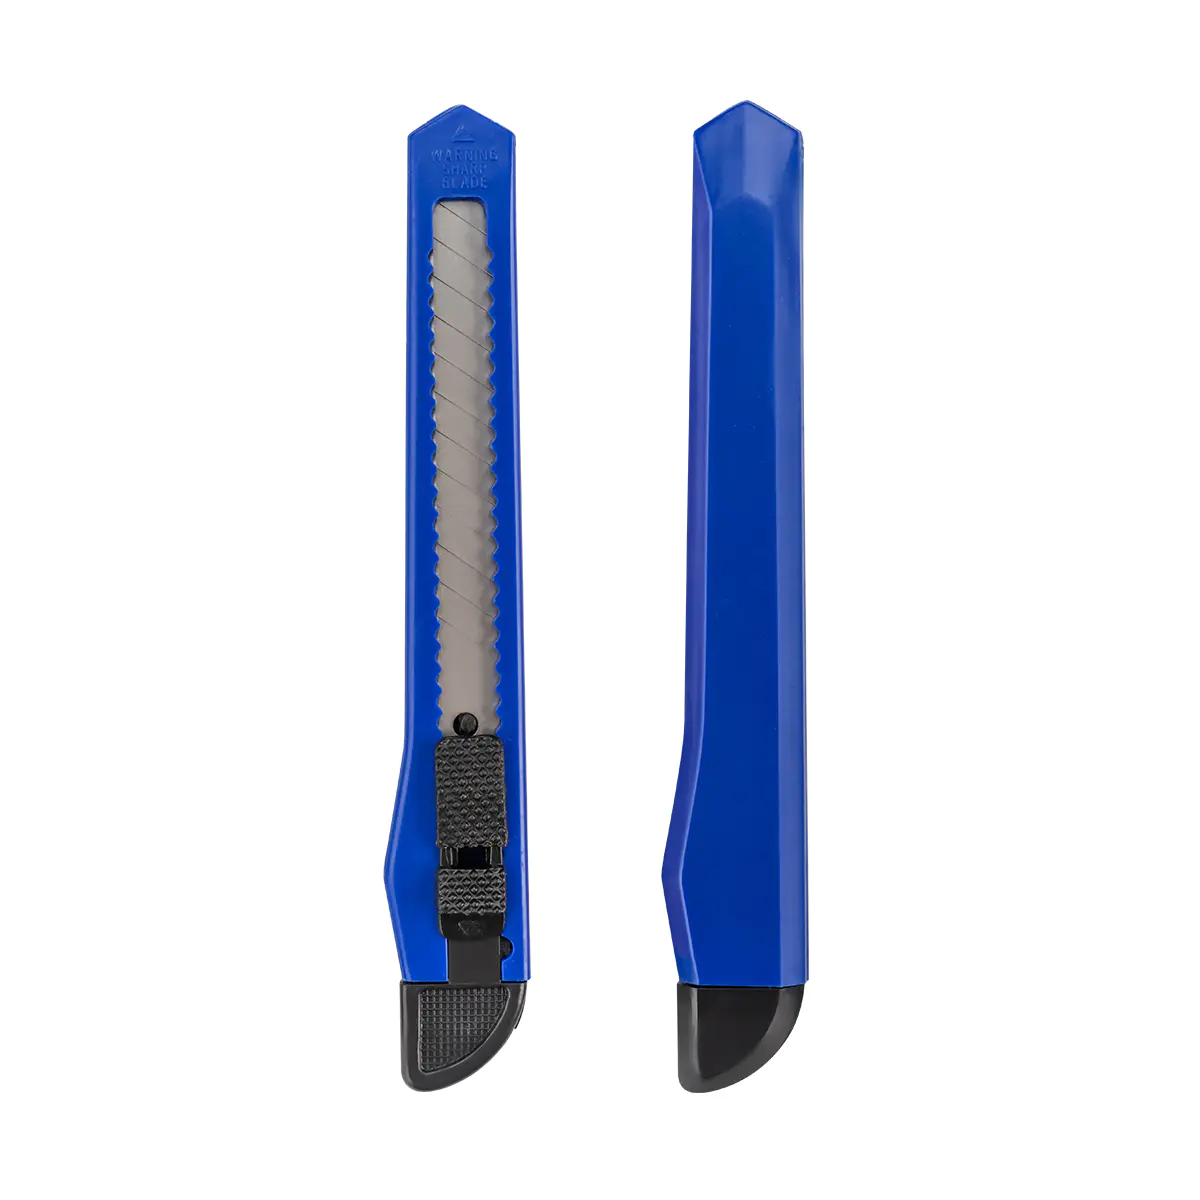
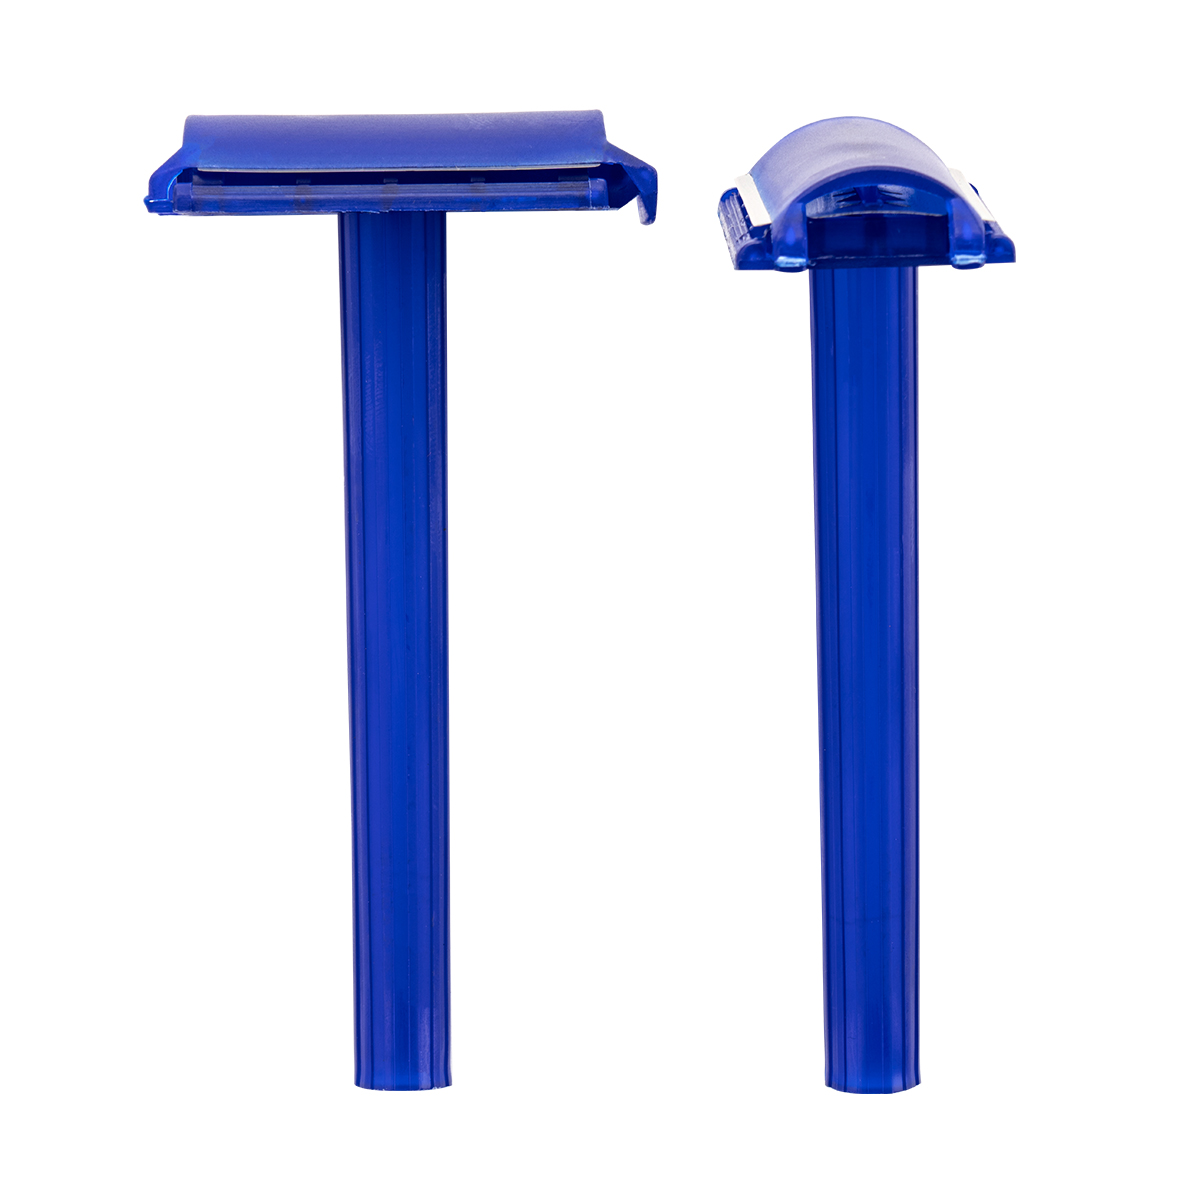
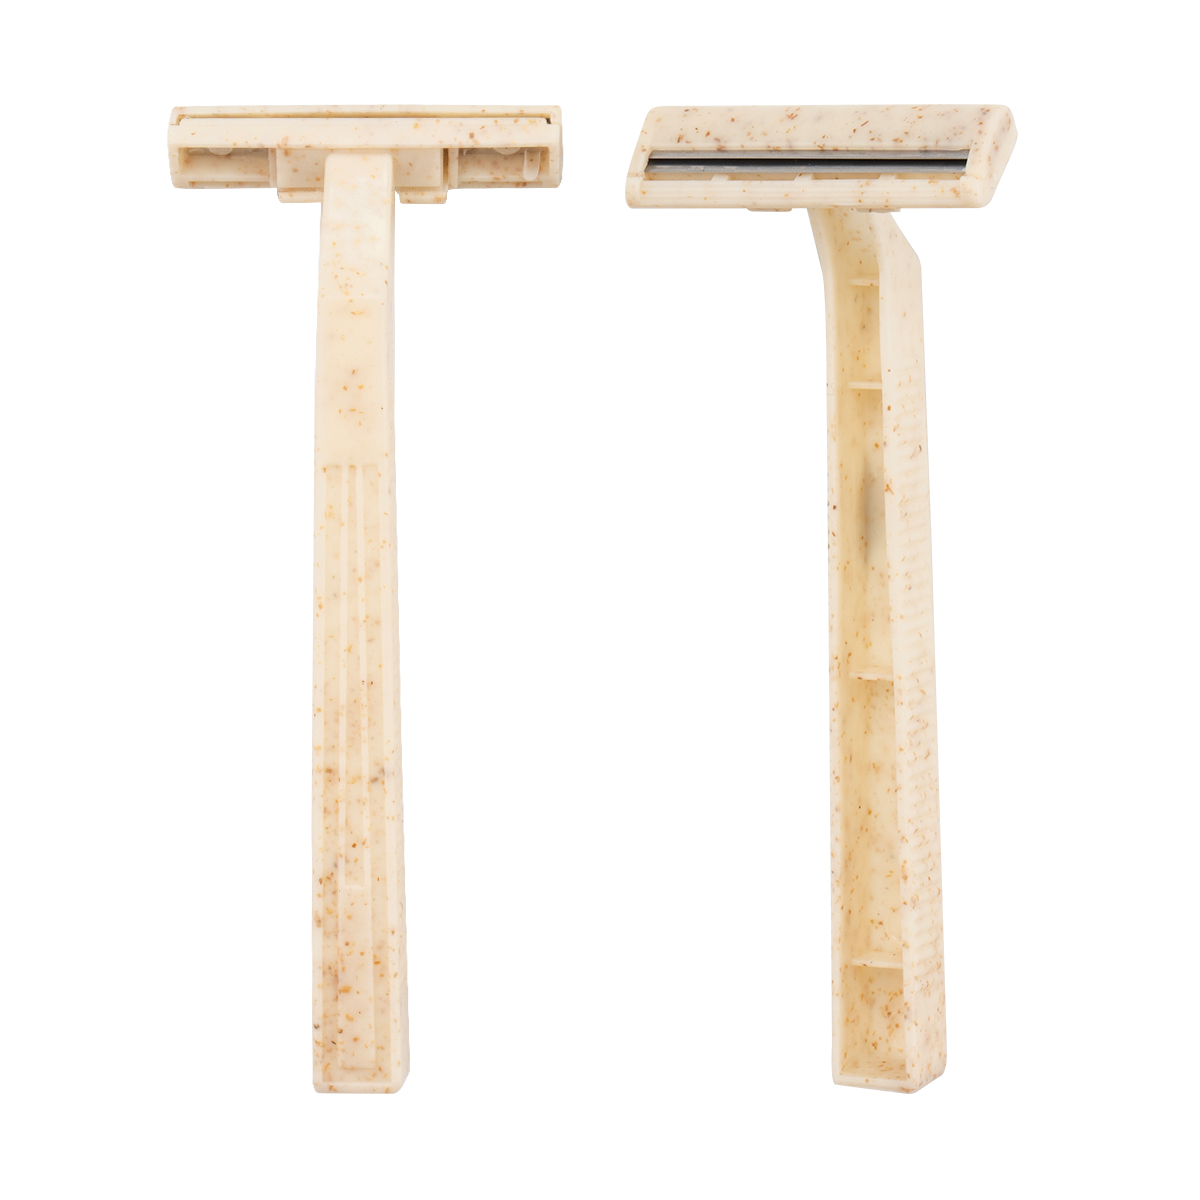

We are an industry and trade enterprise
specializing in the production of disposable razors and utility knives for more than 30 years.
What Is an 18mm Hardware Utility Knife Used For
Content
- 1 18mm Hardware Utility Knife: Structure, Cutting Performance and Everyday Use of a Heavy-Duty Utility Knife
- 2 Product Snapshot of the CX202 Heavy-Duty Utility Knife
- 3 How the 18mm Hardware Utility Knife Is Built
- 4 Metal Guide Rail and the Blade Path
- 5 18mm Blade: Width, Stiffness and Segment Design
- 6 Auto Lock: Holding the Blade Where the Cut Needs It
- 7 Comfortable Handle: Grip, Control and Carry Options
- 8 Dimensions: 16.7CM by 4.7CM
- 9 Where the Heavy-Duty Utility Knife Works Best
- 10 Material Suitability and Cutting Technique
- 11 How to Snap Off a Dull Blade Segment
- 12 Blade Life: Fresh Cutting Edges per Pack
- 13 Safe Handling Rules for an 18mm Hardware Utility Knife
- 14 Care, Cleaning and Troubleshooting
- 15 Packaging and Presentation
- 16 Custom Logo Design on the Handle
- 17 Frequently Asked Questions About the 18mm Hardware Utility Knife
- 17.1 What is an 18mm hardware utility knife used for?
- 17.2 What is the difference between a 9mm blade and an 18mm Blade?
- 17.3 How many blades come with the CX202 heavy-duty utility knife?
- 17.4 How large is this heavy-duty utility knife?
- 17.5 Does the Auto Lock keep the blade from sliding back?
- 17.6 How do I replace a worn blade segment?
- 17.7 Can the knife cut metal?
- 17.8 Can a logo be placed on the handle?
- 17.9 Where should the knife be stored?
- 18 Terms Used on This Page
18mm Hardware Utility Knife: Structure, Cutting Performance and Everyday Use of a Heavy-Duty Utility Knife
A utility knife earns its place on the workbench through repetition: the same cut made hundreds of times, with a blade that stays straight and a handle that does not tire the hand. This 18mm hardware utility knife is built around that idea. A wide 18mm Blade, a Metal Guide Rail, an Auto Lock slider and a Comfortable Handle work together as one cutting system, and the whole tool measures 16.7CM by 4.7CM.
This page explains how each part works, which materials suit the tool, how to snap off a dull blade segment safely, and how to keep a heavy-duty utility knife cutting the way it did on the first day.
18mm
Blade width
16.7CM
Overall length
4.7CM
Overall width
5
Blades in the CX202 pack
Product Snapshot of the CX202 Heavy-Duty Utility Knife

The photograph shows both faces of the knife. The front face exposes the segmented blade, the ribbed black slider and the head of the Metal Guide Rail. The back face is one continuous blue shell with an oval recess for markings and a knurled silver screw close to the nose. Both faces share the same side slots and the same rounded hanging loop at the tail.
Full details of this model are listed on the heavy-duty utility knife with 5 blades product page, and related models sit in the Hardware Utility Knife category.
| Item | Specification |
| Product type | Heavy-duty utility knife, model CX202 |
| Blade width | 18mm Blade with breakaway segments |
| Overall length | 16.7CM |
| Overall width | 4.7CM |
| Blade guidance | Metal Guide Rail |
| Blade locking | Auto Lock slider |
| Grip | Comfortable Handle with raised ribs and textured zones |
| Carry and hang options | Two side slots and one tail hanging loop |
| Included blades | 5 blades in the pack |
| Marking area | Oval recess on the back shell for Custom Logo Design |
How the 18mm Hardware Utility Knife Is Built

Metal Guide Rail
The rigid track that carries the blade and keeps it on a straight path from the slider to the tip.
18mm Blade
A wide, segmented cutting edge that stays rigid under pressure and renews itself by snapping off worn segments.
Auto Lock
A slider-based locking action that holds the blade at the length you selected while the cut is made.
Comfortable Handle
A two-tone shell with ribs and dimpled zones that give the fingers something positive to push against.
Metal Guide Rail and the Blade Path
A snap-off blade is thin by design. When it meets a thick or dense material, part of the cutting force pushes sideways rather than straight ahead. If the channel holding the blade is soft, the blade twists slightly, the cut line drifts and the edge chips. The Metal Guide Rail in this heavy-duty utility knife answers that problem directly: its hard surface resists the sideways push and keeps the blade travelling in a line.
The head of the rail is shaped with angled shoulders and a central notch. The shoulders support the blade close to the point where the material is cut, so very little unsupported blade is left to flex. The notch gives the user a defined spot for snapping off a spent segment, which keeps that task controlled instead of improvised.
Straight tracking
Long cuts along a ruler stay on the pencil line because the blade does not wander inside its channel.
Resistance to groove wear
Plastic channels widen after repeated use and let the blade rattle. A metal track keeps its original clearance for far longer.
Support near the tip
Angled shoulders at the rail head back up the blade at the exact point where the load is highest.
18mm Blade: Width, Stiffness and Segment Design
Blade width is the single most important number on a utility knife. A wider blade has more steel across its cross-section, so it bends less when the cut gets heavy. The 18mm Blade in this model sits at the point where stiffness is clearly better than a 9mm blade, while the tool stays compact enough for one-hand control. The chart below places three common blade widths side by side.
Common snap-off blade widths
| Comparison point | 9mm blade | 18mm Blade | 25mm blade |
| Rigidity under load | Lower | High | Highest |
| Handle size | Slim and small | Medium, fits most hands | Large and wide |
| Fine detail control | Best | Good | Limited |
| Typical materials | Paper, labels, film | Cardboard, flooring, foam, wood scoring | Thick rubber, dense boards |
| Fit for everyday carrying | Excellent | Very good | Less convenient |
The edge itself is divided by diagonal breakaway lines. Each line marks the end of one segment. When the front segment dulls, it is snapped away and the next segment becomes the cutting edge. Nothing is sharpened and nothing is thrown away except a small, spent piece of steel, so the cutting edge stays consistently fresh across the life of one blade.
Auto Lock: Holding the Blade Where the Cut Needs It
A cutting blade that retreats into the handle mid-stroke is a nuisance at best and a hazard at worst. The Auto Lock slider on this knife is designed to keep the blade at the selected extension while pressure is applied. The ribbed black thumb pad sits in the natural resting position of the thumb, so the blade can be advanced or pulled back without letting go of the grip.
A quick lock test takes two seconds. Before the first cut of the day, rest the blade tip lightly on the bench and press down. The blade should hold its position. If it creeps back, clean the slider track before using the knife.
Blade extension should match the job. A short extension gives the most rigidity and is the right choice for scoring and thin sheet. A longer extension reaches into thick foam or stacked cardboard, at the cost of some stiffness. Because the Auto Lock holds each position, switching between the two takes one thumb movement.
Comfortable Handle: Grip, Control and Carry Options
The shell of this 18mm hardware utility knife narrows slightly at the waist and widens toward the tail, which gives the palm a natural seat. Raised diagonal ribs run along the lower side, a patch of small dimples sits near the top, and flat recessed panels break up the large blue surfaces. Each texture sits where a finger or the palm naturally rests, so the knife does not slide even when the hand is dusty.
Two oval slots near the nose accept a lanyard or wrist cord, and a rounded loop at the tail lets the knife hang from a hook, a tool wall or a carabiner. The tool therefore has a home between jobs instead of being dropped loose into a toolbox where the blade can contact other metal.
Power grip
Fingers wrap the full shell with the thumb on the slider. Best for heavy pulls through cardboard stacks and foam board.
Precision grip
The index finger rests along the top edge of the shell, close to the blade. Suited to scoring a thin line beside a ruler.
Pull-cut grip
The blade is angled low and the knife is drawn toward the body side of the work, with the free hand clear of the line.
Dimensions: 16.7CM by 4.7CM

At 16.7CM long, the knife is long enough to fill an average adult hand with a small amount of handle behind the palm, which is the proportion that gives the best leverage on a pull stroke. At 4.7CM wide, the shell is broad enough to spread pressure across the fingers, yet it still slides into a tool pouch or a large trouser pocket.
The dimension of 4.7CM includes the grip shell. The blade itself is 18mm wide, so the shell surrounds the blade with generous material on either side, which is what allows the Metal Guide Rail and the slider mechanism to be fully supported inside the body.
Where the Heavy-Duty Utility Knife Works Best

The workshop scene above shows one of the most useful jobs for a wide-blade knife: marking a cutting line on timber. A pencil line has thickness and drifts when the pencil wears. A knife line is a hairline that the saw tooth can register against, and the scored fibres on the surface break cleanly instead of tearing out. The same knife handles a long list of other tasks.
Woodworking layout
Score across the grain at the exact joint position, then chisel or saw to the line for tight shoulders on joinery.
Cartons and packing tape
The wide blade passes through tape seams and multi-wall corrugated board with one steady pull, leaving contents untouched.
Flooring and carpet
Trim underlay, vinyl sheet and carpet backing along walls. A fresh segment prevents the edge from snagging the pile.
Foam and insulation board
Extended blade length reaches through thick panels. Cut in several shallow passes for a square edge.
Drywall scoring
Score the paper face along a straightedge, snap the board over a knee, then slice the back paper to separate the pieces.
Rubber and gasket sheet
Cut gaskets from sheet stock by working slowly around a template, keeping the blade angle constant.
Material Suitability and Cutting Technique
Different materials call for different blade extension and cutting method. The bars below rate how well the 18mm Blade matches each material, and the table that follows gives the technique that produces the cleanest result.
| Material | Blade extension | Cutting method | Result tip |
| Corrugated cardboard | One to two segments | Single firm pull along a straightedge | Cut on a sacrificial mat to protect the bench |
| Carpet and vinyl | One segment | Pull toward the body, backing side up | Change the segment as soon as the pile snags |
| Foam board | Two to three segments | Several shallow passes | Hold the blade vertical for a square edge |
| Timber scoring | One segment | Light first pass, then a deeper second pass | Press the ruler firmly to avoid slipping |
| Drywall | One to two segments | Score the face paper, snap, then cut the back paper | Keep the free hand clear of the scoring line |
| Rubber sheet | Two segments | Slow continuous stroke around a template | Keep the blade angle constant |
How to Snap Off a Dull Blade Segment
A blade that tears instead of slicing is telling you that its front segment has dulled. Replacing it takes less than a minute when it is done in a controlled sequence.
1
Check the edge
Look for a rounded tip, nicks or a burr. If the cut line is ragged, the segment is finished.
2
Extend one segment
Move the slider until exactly one more segment protrudes past the head of the Metal Guide Rail.
3
Seat the segment
Rest the breakaway line in the notch at the rail head so that the blade is gripped on both sides.
4
Snap away from the body
Press the extended piece sideways, away from your face and hands, until it breaks along the line.
5
Dispose of the offcut
Drop the snapped piece into a sealed container such as a sturdy tin or a dedicated blade bin.
6
Confirm the lock
Return the blade to the working length and perform the bench pressure test before cutting.
Blade Life: Fresh Cutting Edges per Pack
Because every segment is a fresh cutting edge, the number of sharp tips in a pack grows in a simple, predictable way. The line chart assumes ten usable segments on each blade; blades with more or fewer segments move the line up or down in the same proportion. With five blades in the CX202 pack, the user has a long run of fresh edges before any further blades are needed.
Fresh cutting tips available as blades are added (assuming 10 segments per blade)
Safe Handling Rules for an 18mm Hardware Utility Knife
Cut away from the body
Plan the stroke so that, if the blade slips, it travels into open space and not toward a hand, leg or the opposite wrist.
Keep the free hand clear
Hold the material from the side, at least a hand-width away from the cutting line, and use a straightedge as the guide.
Expose only what is needed
A shorter blade is a stiffer blade. Extend one more segment only when the material thickness demands it.
Retract before moving
Slide the blade fully back into the shell before walking, passing the tool to someone else or putting it down.
Never pry or twist
A thin steel blade can break under side loads. Use a chisel or screwdriver for levering jobs instead.
Wear suitable gloves
Cut-resistant gloves on the holding hand protect against slips. Keep fingertips visible for control.
Care, Cleaning and Troubleshooting
A utility knife is a simple mechanism, and a few minutes of attention at regular intervals keeps the slider smooth and the Auto Lock reliable.
| Interval | Check | Action |
| Every use | Blade edge and lock position | Snap off dull segments and run the bench pressure test |
| Weekly | Slider track and rail head | Brush out dust, sawdust and adhesive residue |
| Monthly | Knurled screw and shell seam | Check that the screw is snug and the shell halves sit flush |
| After wet work | Blade surface | Wipe the blade dry before retracting it to prevent staining |
| Storage | Hanging loop or case | Hang the knife or keep it in a pouch with the blade retracted |
| Symptom | Likely cause | Remedy |
| Ragged or torn cut | Dull front segment | Snap off the segment and cut again |
| Blade creeps back under pressure | Debris in the slider track | Clean the track and test the lock again |
| Line drifts from the ruler | Excess blade extension | Shorten the blade and use lighter passes |
| Slider feels gritty | Fine dust inside the shell | Brush the track and wipe the slider surface |
| Blade chatters in the cut | Loose knurled screw | Tighten the screw gently by hand |
Packaging and Presentation

The knife is presented on a card with a clear molded shell. The yellow and white card carries the words Cutter Knife and 18mm Blade in large black lettering, so the key specification is readable at a glance. A hang hole at the top allows the pack to be displayed on a peg hook, and the transparent shell lets the shape of the grip and the visible blade be checked before the pack is opened.
Small panels on the card show the intended cutting materials as pictograms, giving first-time users a quick idea of what the knife is made to handle. The grid pattern on the lower card reinforces the idea of measuring and marking work.
Custom Logo Design on the Handle

The back shell of the knife carries an oval recess that was shaped as a marking area. A logo or short name placed here sits flat inside the recess, so it is protected from rubbing against pockets and tool bags. The enlarged circle in the picture shows white lettering on the blue shell, a high-contrast combination that stays legible from arm's length.
Custom Logo Design on this model is suited to workshops, maintenance teams, training programs and tool kits that need every knife marked with a name or a mark. A short word, a simple symbol or a compact logo reads best within an oval of this size. Marking can also be carried through to the card packaging so that the pack and the tool match.
Marking position
Centered on the back shell, away from the grip ribs, so that the surface under the logo stays smooth and clear.
Artwork guidance
Simple one-color artwork with generous spacing around letters gives the sharpest edge on a curved plastic surface.
Color pairing
Light lettering on the deep blue shell gives strong contrast. Dark artwork is better kept for light-colored handles.
Frequently Asked Questions About the 18mm Hardware Utility Knife
What is an 18mm hardware utility knife used for?
It is used for heavy cutting and scoring tasks such as opening cartons, trimming flooring and carpet, cutting foam and insulation board, scoring drywall paper and marking layout lines on timber.
What is the difference between a 9mm blade and an 18mm Blade?
The 18mm Blade is twice as wide and therefore stiffer under load. It handles thicker and denser materials, while a 9mm blade is better suited to fine detail work on thin materials.
How many blades come with the CX202 heavy-duty utility knife?
The CX202 pack contains 5 blades, as listed on the product page.
How large is this heavy-duty utility knife?
The knife measures 16.7CM in overall length and 4.7CM in overall width.
Does the Auto Lock keep the blade from sliding back?
The Auto Lock slider is designed to hold the blade at the selected extension during cutting. A quick pressure test on the bench confirms that it is holding before work begins.
How do I replace a worn blade segment?
Extend one extra segment, seat the breakaway line in the notch of the Metal Guide Rail head, and snap the piece away from your body. Dispose of the offcut in a sealed container.
Can the knife cut metal?
No. The blade is made for soft and fibrous materials. Sheet metal needs snips or a suitable saw, and forcing the blade into metal can break it.
Can a logo be placed on the handle?
Yes. The oval recess on the back shell is designed for Custom Logo Design, and the packaging card can carry matching marking.
Where should the knife be stored?
Store it with the blade fully retracted, hanging from the tail loop or resting in a pouch, in a dry place away from children.
Terms Used on This Page
Breakaway segment
One section of the blade edge between two diagonal scored lines, removed by snapping when it dulls.
Metal Guide Rail
The metal track inside the knife that supports the blade and keeps it travelling in a straight path.
Auto Lock
The locking action of the slider that holds the blade at the chosen extension during use.
Blade extension
The length of blade that protrudes from the head of the knife while cutting.
Scoring
Cutting only part way through a material so that it can be snapped, folded or sawn along the line.
Custom Logo Design
A name or mark placed in the oval recess on the back shell of the handle.
Product details, images and the complete model information for this knife are available on the CX202 heavy-duty utility knife page. More models in the same family are collected in the Hardware Utility Knife category.
Recommended Product
Recommended News

Keep In Touch
 No. 2-2, Oufu Road, Zhangting Town, Yuyao City, Ningbo City, Zhejiang, China.
 +86-574-87560886/87560055
 +86-574-87560885
Copyright © Ningbo Chuangxin Cutting-Tool Manufacture Co., Ltd.
